The best C5 Corvette headlight solution is usually not the brightest product advertised online. Start by restoring the stock system: verify voltage and grounds, clean or replace damaged lenses and reflectors, fit quality 9006 low-beam and 9005 high-beam halogen bulbs, and aim both lamps correctly. If a complete LED assembly is desired, choose a vehicle-specific system whose manufacturer certifies the complete headlamp—not a loose LED bulb placed in an optic designed for halogen.
To place Best C5 Corvette Headlights in a wider ownership and engineering context, continue with C5 Corvette Buyer’s Guide: Performance Value Explained.
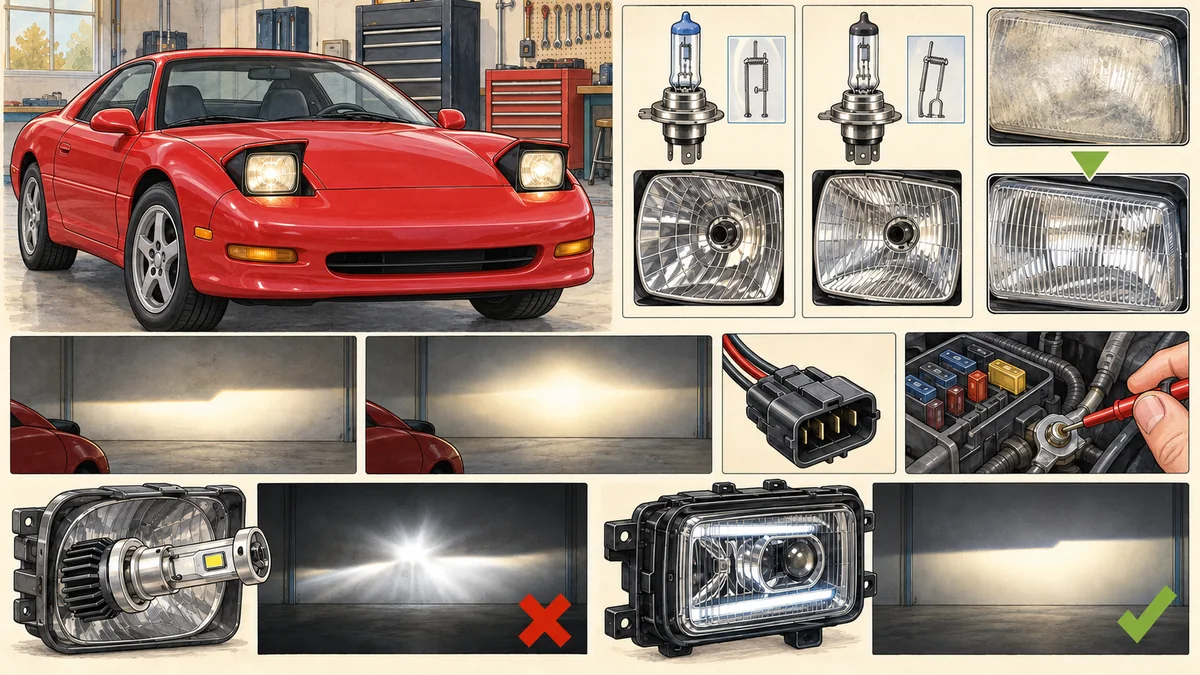
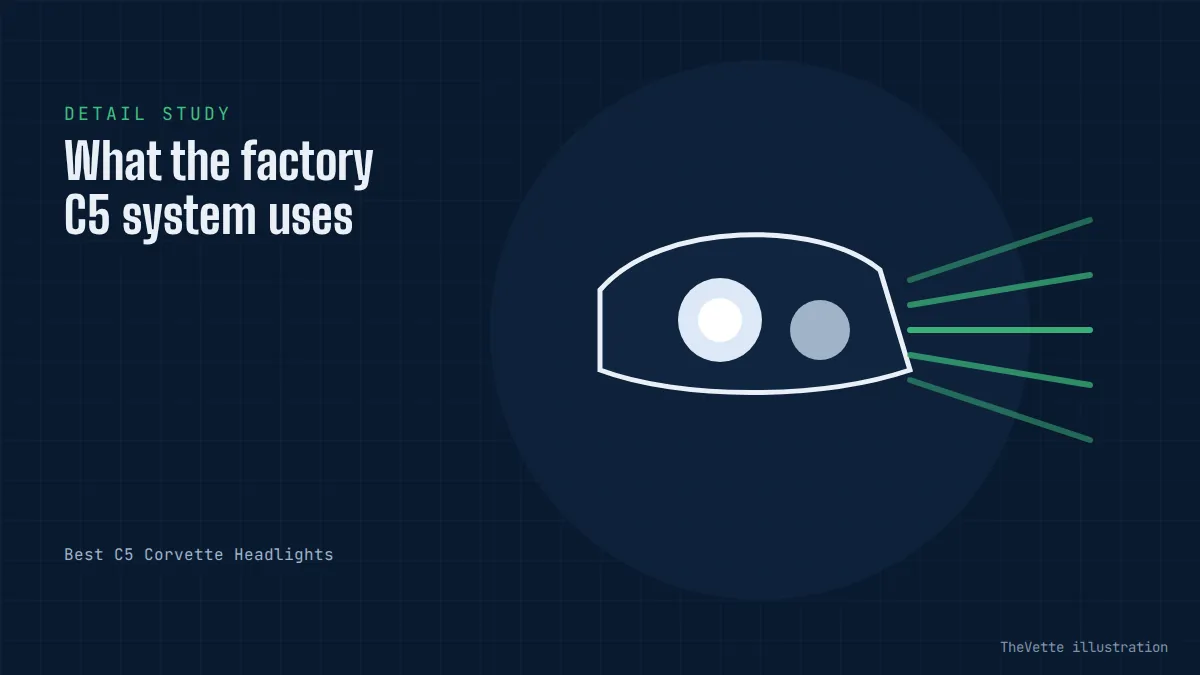
Quick recommendations
| Condition | Best starting point | Why | Verify |
|---|---|---|---|
| Stock lamps, weak output | Electrical test, lens restoration, quality halogen bulbs | Preserves the designed reflector and beam | 9006 low, 9005 high, connector condition, aim |
| One dark or intermittent lamp | Diagnose bulb, socket, fuse, ground, wiring, and mechanism | A replacement assembly may not fix the circuit | Voltage under load and both sides compared |
| Damaged reflector or housing | Correct replacement housing or complete assembly | Optical damage cannot be polished away | Fit, sealing, aimability, compliance certification |
| LED conversion goal | Documented complete compliant headlamp system | Light source and optics are engineered together | US road legality, photometry, fit, wiring, door clearance |
Lighting is safety equipment. A white color, dramatic wall hotspot, or high lumen claim does not prove useful seeing distance or acceptable glare. Evaluate the beam on a properly aimed wall and on the road without dazzling other drivers.
What the factory C5 system uses
Chevrolet’s 2001 Corvette owner manual lists a 9006 low-beam bulb and a 9005 high-beam bulb. The C5 uses pop-up headlamp doors, with separate replaceable sources working inside purpose-designed optics. Confirm the exact model-year manual before ordering because connector repairs, previous conversions, and aftermarket housings may have changed an individual car.
A low beam must control upward light and place illumination where it helps without blinding traffic. A high beam can project farther because it is used when other road users will not be affected. Swapping bulb types, modifying locating tabs, or forcing an incompatible source disrupts that design.
Best value: restore the original halogen system
A healthy factory-style system is the safest baseline. Install reputable bulbs of the specified type in pairs when age and output are similar. Avoid touching the glass with bare fingers; contamination can create hot spots and shorten bulb life. Seat the base fully and make sure the connector lock and seal are intact.
Before blaming the bulbs, inspect the lens for haze, pitting, internal contamination, and cracks. Look at the reflector through the lens. A dull, peeling, or heat-damaged reflector cannot direct light correctly even when a powerful new source is installed. Replacement is preferable to cosmetic polishing when optical surfaces are damaged inside.
Advantages: predictable beam geometry, simple parts availability, and no added drivers or cooling hardware. Trade-offs: warmer color and less visual drama than many modern lamps, plus normal filament aging.
Standard versus higher-performance halogen bulbs
Standard long-life bulbs favor durability and reasonable cost. Performance halogens may use filament geometry, gas fill, coatings, or tighter manufacturing tolerances to place more useful light in parts of the beam. They can trade service life for output. Read the maker’s actual road-use and lifespan statements rather than assuming every premium package is superior.
Blue-tinted glass can reduce transmitted light while making the beam appear whiter. Color impression is not the same as visibility. For regular night driving, prioritize a compliant source, clear lens, sound reflector, correct voltage, and accurate aim.
Why loose LED replacement bulbs are a poor default
Many retrofit LED bulbs physically imitate a 9005 or 9006 base but place emitting chips differently from the halogen filament. The reflector then receives light from the wrong positions and angles. The result may be a bright foreground, scattered glare, dark areas, or reduced distance vision even when the garage-door pattern looks impressive.
NHTSA explained in a 2024 interpretation that LEDs may be used in a compliant integral-beam headlamp, but no LED replaceable light source was then permitted for use in a replaceable-bulb headlamp under the applicable federal framework. Internet availability or “for off-road use” packaging does not make a bulb a compliant road solution. State installation rules may add their own requirements.
Cooling fans and heat sinks also need space inside the moving C5 assembly. Extra hardware can foul a cover, wiring, or headlamp-door mechanism. Polarity adapters, resistors, and loosely secured drivers add failure points. These concerns exist before beam performance is considered.
Complete LED assemblies: the better conversion route
A complete integral LED headlamp can be engineered as one lens, reflector or projector, light source, driver, and thermal system. NHTSA recognizes that integral LED headlamps can comply when the complete lamp meets the applicable requirements. That is different from installing an LED bulb in a halogen optic.
For a C5 conversion, require written fitment for 1997–2004 Corvette, documented left- and right-hand traffic beam performance for the US, external aim provision, weather sealing, connector details, electrical compatibility, headlamp-door clearance, and the manufacturer’s certification statement. Confirm what happens if one LED or driver fails and whether service parts exist.
Do not interpret a “DOT” mark as government approval. NHTSA states that the mark generally represents the manufacturer’s own certification of compliance. A credible maker should identify the applicable standard and stand behind the complete product, not rely on an ambiguous marketplace title.
Lens restoration versus replacement
External oxidation can scatter and absorb light. A proper restoration removes damaged material evenly, refines the surface through appropriate abrasive stages, and restores UV protection. A quick oily wipe may look clear for a week without correcting the surface.
Measure success by uniform clarity and improved beam, not only a glossy daytime photograph. If the lens is deeply cracked, warped, badly pitted, leaking, or damaged on the inside, replace the correct optical component. Sealant and vent paths must remain functional so the repaired lamp does not trap moisture.
Electrical health can determine brightness
Halogen output is sensitive to voltage. Corroded grounds, overheated sockets, damaged connectors, high-resistance wiring, or weak charging voltage can make both lamps disappointing. Measure voltage under load at the battery and lamp connector, then compare the two sides. An open-circuit meter reading can look normal while a poor connection collapses under current.
Repair melted or brittle connectors with correct automotive parts and methods. Do not install higher-wattage bulbs as a shortcut; added current and heat can damage wiring, switches, reflectors, or lenses. A relay harness should be used only when it is properly designed, fused, routed, weather protected, and legal for the intended system.
Pop-up door condition matters
A C5 lamp must raise fully and settle in its intended position before the beam can be aimed. A worn mechanism, slipping gear, damaged linkage, poor stop, or obstruction can leave one lamp lower or tilted. That changes the road pattern even if the bulb and housing are perfect.
Observe both doors through several cycles with the car safely parked. Listen for continued motor operation, hesitation, or impact. Keep hands and tools away from moving linkages. Diagnose mechanism problems before aiming; otherwise the setting may change the next time the doors move.
Aiming is part of every repair
Replacing a housing, repairing a mechanism, changing ride height, or disturbing adjustment hardware calls for an aim check. Tire pressure, vehicle load, level ground, wall distance, and suspension condition all affect the measurement. Use the service procedure and local requirements rather than a generic line drawn at an arbitrary height.
A low beam should produce a controlled, repeatable pattern with both sides aligned as specified. Excessive upward light creates glare; aiming too low shortens useful seeing distance and encourages overdriving the beam. High beams should add distance without pointing into unrelated areas.
Finish the check in real conditions. Rain, worn pavement markings, hills, and reflective signs reveal weaknesses that a dry garage wall cannot show. Drive a familiar low-speed route with clean glass and normal vehicle load, then stop safely before making any adjustment. If the pattern flickers when the pop-up doors or wiring move, correct the mechanical or electrical fault before returning to night traffic.
How to compare complete replacement assemblies
| Field | Evidence to request |
|---|---|
| Vehicle fit | 1997–2004 Corvette application plus exact mounting and door-clearance details |
| Road compliance | Manufacturer certification for the complete headlamp and intended US use |
| Beam data | Low/high pattern and photometric evidence, not only raw lumens |
| Aim | Accessible adjustment and installation procedure |
| Electrical design | Connector, current draw, driver, fault behavior, and radio compatibility |
| Weather protection | Sealing, ventilation, condensation guidance, and warranty |
| Serviceability | Replacement driver/lamp availability and support contact |
Five sensible buying paths
Stock daily use: quality 9006 and 9005 halogens after electrical and optical inspection. Maximum simple reliability: standard-output long-life bulbs from an established lighting manufacturer. Improved halogen performance: road-legal premium bulbs, accepting that life may be shorter.
Damaged factory optics: correct new or verified-quality replacement housings used with specified bulbs. Modern appearance and output: a complete vehicle-specific integral LED system with credible compliance evidence, proper aim, and support. No path eliminates the need to check the moving doors and wiring.
There are no affiliate links in this guide. Future links must be disclosed and should lead to fitment or documentation, not turn an unsupported brightness claim into a recommendation.
Installation checklist
- Confirm model year, existing housing, and bulb numbers.
- Inspect lens, reflector, seals, venting, connector, wiring, and grounds.
- Test voltage with the lamps operating.
- Disconnect power and follow the exact service procedure.
- Keep bulb glass and optical surfaces clean.
- Seat every connector, seal, retainer, and cover correctly.
- Cycle both pop-up mechanisms while clear of moving parts.
- Aim the completed system using the prescribed method.
- Verify low and high beams on a safe night drive without glare.
Headlamps and nearby components can become hot. Allow cooling before service. Support raised components as the service information requires and never place fingers in a mechanism that can move unexpectedly.
Common mistakes
The most common mistake is buying a bulb before testing the old system. Others include polishing a lens with a failed reflector, installing excessive wattage, touching halogen glass, forcing an incompatible base, leaving a seal loose, ignoring voltage drop, and aiming by appearance alone.
With conversions, beware of using a dazzling foreground hotspot as proof of range, accepting “DOT approved” without understanding manufacturer certification, and assuming an LED fan will fit inside a moving enclosure. If oncoming drivers flash their lights after a change, treat that as a reason to inspect aim and beam pattern immediately.
Frequently asked questions
What bulb sizes does a C5 Corvette use?
Chevrolet’s 2001 owner manual specifies 9006 for low beam and 9005 for high beam. Confirm the exact model-year manual and inspect the car because prior conversions may have changed components.
Can I put LED bulbs in the stock C5 housings?
A loose LED replacement source may not reproduce the halogen filament position or compliant beam. NHTSA’s cited interpretation says LED replaceable light sources were not permitted in replaceable-bulb headlamps under that federal framework. A documented complete integral LED assembly is the more defensible conversion path.
Why are my new bulbs still dim?
Cloudy lenses, damaged reflectors, low charging voltage, resistance in sockets or grounds, incorrect seating, and poor aim can all reduce useful light. Diagnose the complete system.
Should I replace bulbs in pairs?
When both are the same age, paired replacement helps keep color and output consistent. A single early failure should also trigger connector, moisture, and voltage inspection.
Does a DOT mark mean NHTSA approved the headlight?
No. NHTSA explains that the mark generally reflects the manufacturer’s certification, not a government product approval. Evaluate the maker, documentation, complete-lamp application, and state rules.
Final recommendation
For most C5 owners, the best result starts with a restored factory system: clear and sound optics, correct 9006 low-beam and 9005 high-beam halogens, healthy connectors and grounds, fully operating pop-up doors, and accurate aim. This approach improves useful light without gambling on an incompatible source.
If the optics are beyond repair, replace them correctly. If modern LED lighting is the goal, choose a complete C5-specific integral assembly with credible road-compliance documentation, proper beam performance, safe wiring, and enough mechanism clearance. Buy the complete optical solution, not the loudest lumen number.